
As an art teacher I spent a lot of time thinking about art supplies but I never really put a lot of thought into what ingredients were used to make the art supplies. However recently more and more green art supply companies have been sprouting up and drawing attention to the ingredients used in art supplies, their effect on the environment and the children who are using them. While I love the idea of soy or bees wax crayons, they are often very expensive. So when I came across a recipe on a site called Wee Folk Art for both soy wax crayons and beeswax crayons, I was excited to give them a try. The articles both talked about some of the pros and cons of the different waxes used, bees wax can be very soft, soy wax can burn easily, however in the comments lots of people suggested making crayons with a mix of both waxes.
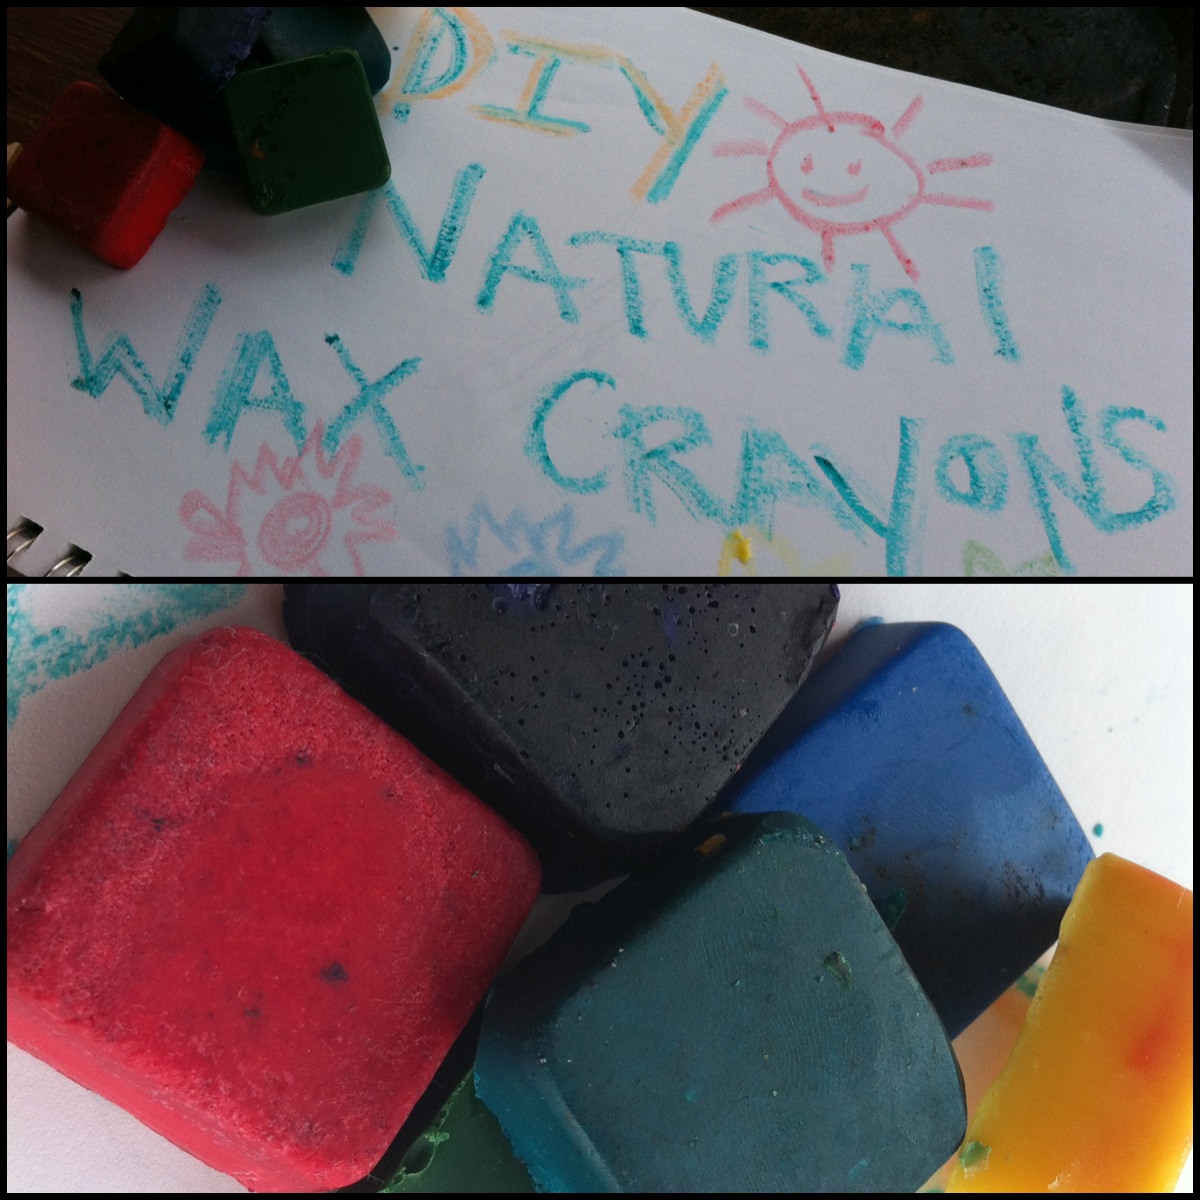
To try this I purchased both flakes soy wax and bees wax online from amazon, although both could be purchased at a craft store like Micheal's or even a local market. I then used a cheap old saucepan and put a 1/2 cup of each kind of wax into the pan. Next I took a bar of white soap and used a box grater to shred the bar into fine flakes. I then added 1/4 cup of soap to the pan. Next I began to heat the waxes and soap on the stove top over very low heat. I found through trial and error that the soy wax melts very quickly, the bees wax melts next and then the soap. However if you keep the heat on high the soy wax will begin to bubble and congeal before the other ingredients are melted. I should also note here that sometimes the wax can pop like oil in a skillet so it might be best to do this part by yourself or keep little ones at a safe distance. I found for best best results to keep the wax on a low temperature for 5-10 minutes, until all the ingredients are evenly melted. Once the soaps and waxes are melted I added a generous amount of gel food coloring. Liquid food coloring does not seem to work, but gel food coloring works great. The amount really depends on the color but I found that you can never really have to much, but you can definitely not have enough. Once you add the food coloring, you want to give the mix a good stir. Then pour the mixture into any silicone mold, that has been wiped with vegetable oil. If you find that the ingredients are not fully melted when you pour them into the mold, you can always put the mold onto a baking sheet and stick it in a 275 degree oven for a few minutes until everything is fully melted. I had one soap I tried that I had to do this with. Once the wax has been poured into the mold, you want to wait at least 20-30 minutes for the wax to fully cool. Within 24 hours the wax will have fully hardened and the crayons will be ready to use. There are lots of variations to this recipe, I have read about some people using glycerin soap, goats milk soap, vegetable dyes and wax colorants, some of which I have tried some of which I hope to try in our next batch. We also tried a few molds and I was most happy with a small square mold, they made nice, large chunky crayons great for the little hands at our house. The Bee and Bean have loved coloring with our new crayons, I feel good because I know exactly what is in them and we get to decide what fun colors to make. Our next step might have to be coming up with fabulous color names for our new crayons...
Update: I loved making these crayons so much I couldn't stop. After a lot of trail and error, I came up with the perfect (top secret) recipe and have opened my own Etsy shop. So if you are looking for Soy/Bees wax crayons and don't want to make them check out my shop! I also highly recommend giving the directions above a shot, the above recipe works great and is lots of fun to make:)
These are beautiful, thanks for sharing your experience in making them. I want to make some and this will be very helpful. :)
ReplyDeleteSo glad to share! Let me know how yours turn out, I would love to hear how it goes!
DeleteA Childhood List: 103) Diy Natural Wax Crayons >>>>> Download Now
Delete>>>>> Download Full
A Childhood List: 103) Diy Natural Wax Crayons >>>>> Download LINK
>>>>> Download Now
A Childhood List: 103) Diy Natural Wax Crayons >>>>> Download Full
>>>>> Download LINK EY
What a neat idea. Thanks for the tutorial, I'll have to give it a try! I love your blog and all your great ideas. Also, thanks for linking up to the Weekly Kids Co-Op!
ReplyDeleteThanks Amanda! If you give the crayons a try let me know how they turn out!
ReplyDeleteI am so excited to try this!!! How fun and relatively simple too :) Thank you for sharing and your photos are great. This will be a fun summer project with the kids.
ReplyDeletexo,
Tamar
ReplyDeletekondom berduri
kondom getar
kondom badak
kondom lele
obat pemutih gigi
obat penyubur seperma
obat penggemuk badan
obat peninggi badan
obat pelangsing badan meizitang
Suggest good information in this message, click here.
ReplyDeleteรวยด้วยบาคาร่า
แนวทางการพนันบอลออนไลน์
A Childhood List: 103) Diy Natural Wax Crayons >>>>> Download Now
ReplyDelete>>>>> Download Full
A Childhood List: 103) Diy Natural Wax Crayons >>>>> Download LINK
>>>>> Download Now
A Childhood List: 103) Diy Natural Wax Crayons >>>>> Download Full
>>>>> Download LINK
밀양출장샵
ReplyDelete사천출장샵
구미출장샵
강진출장샵
구미출장샵
사천출장샵
영주출장샵
양산출장샵
해남출장샵
영주출장샵